

 Tiếng Việt
 中文 (中国)
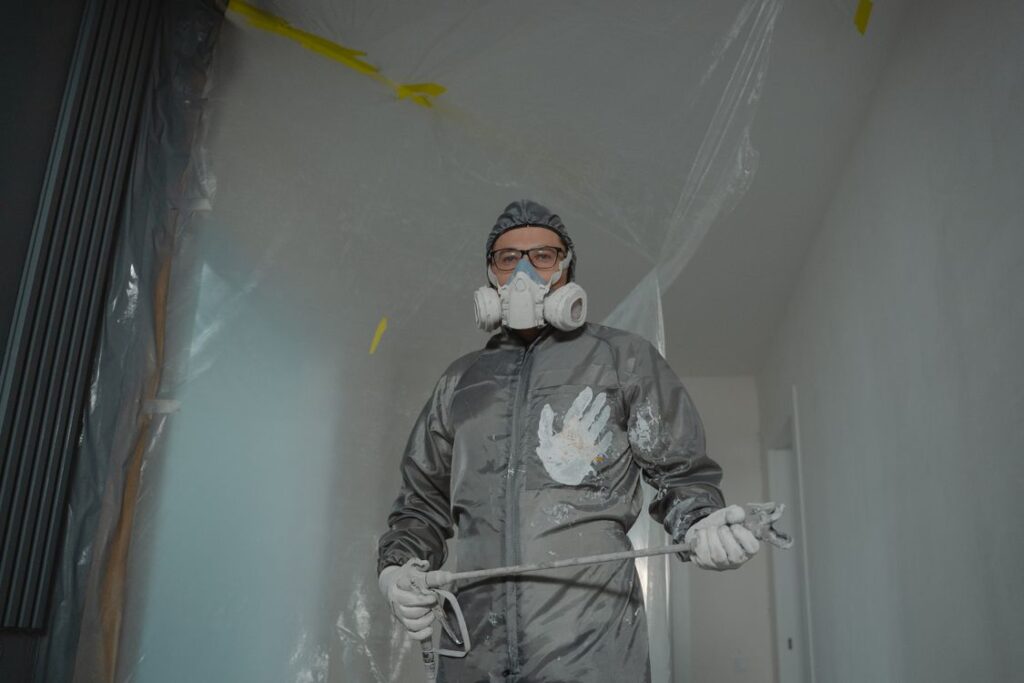
A crack, a small peeled patch, or a deep scratch does not necessarily mean the whole floor must be recoated. Localized repair is a way to address exactly the extent of the damage, keep the rest of the floor that is still sound, and return the area to use sooner. But a local patch only lasts when done in the correct sequence: diagnosis first, removal to the correct extent, substrate treatment, then rebuilding the full layer system.
This article is a technical procedure for localized repair. It differs from Epoxy Peeling, Bubbling and Discoloration: Causes and Fixes, which focuses on diagnosing the causes of three common failures; that article deliberately does not go into detail on each patching step. This article also differs in angle from a later failure-group topic on localized repair, which starts from each specific type of damage; here the angle is the acceptance and application-technique procedure for a patched area, applied generally to many types of localized damage. The content presents the general characteristics of materials and the general procedure; product-specific data for each Kadier system is applied only according to the manufacturers official technical documentation when available.
1. Step 0: diagnosis before patching
Do not patch before knowing why the damage occurred. Tap-test around the damaged area to determine how far the debonded edge extends, because the debonded area is usually wider than the visible area. Measure substrate moisture and check for signs of rising damp if moisture is suspected to be the cause. A patch applied over a substrate that is still damp or still contaminated with oil will peel again in exactly the same place, except that the next time it will cost another round of work.
The boundary must also be decided: localized patching is only reasonable when the damage is confined and the rest of the floor still bonds well. If peeling is widespread across the floor, if the substrate is weak over a large area, or if the old layer has deteriorated overall, recoating the whole floor or rebuilding from the substrate is the correct option, and patching individual spots only extends the time before the next failure. For a floor where the old coating has deteriorated overall, see Recoating an Old Epoxy Floor: Grind Off the Old Coat or Overcoat It?.
2. Marking out and removing the damaged part
Draw the patch boundary beyond the visible edge of the damage, out to an area where the coating still bonds firmly, as confirmed by tap testing. Cut the boundary into a square or rectangle, with straight and clean cut edges; a patch edge that wanders freely following the shape of the damage is very difficult to treat at the edge and is easy to see. Cut through the coating down to the substrate, then remove all of the damaged material within the boundary, including coating that has softened, blistered, or delaminated.
After removal, re-check the exposed substrate: is the concrete sound, are there new cracks, is there oil, grease, or moisture? A weak, honeycombed, or cracked substrate must be treated before recoating, not covered over to hide it. For substrate preparation details, see Concrete Floor Preparation Before Epoxy Coating: Grinding, Crack Repair, Moisture Testing.
3. Treating the substrate within the patch area
Grind the whole patch area to create roughness and remove the weak cement layer, dust, and residues of the old coating. Vacuum thoroughly, because dust left behind is a separating layer between the new coating and the substrate. Cracks within the patch area are opened out, cleaned, and filled with a filling material suited to the coating system; cracks caused by the structure or still moving need a separate assessment, and must not simply be filled and coated over like an ordinary crack.
If the patch area was previously contaminated with oil, grease, or chemicals, it must be cleaned and its bond re-checked on a small trial area before the main patch is applied. If the substrate is damp, the cause of the dampness must be addressed first; patching over a damp substrate is a certain way to have to patch again.
4. Rebuilding the full layer system, from primer to topcoat
The most important principle of localized patching: the patched area must be rebuilt with the full layer system like the original floor, not just given a topcoat on top. The general sequence is to prime the prepared substrate, then apply the intermediate coat or self-leveling layer if the original system has one, then the topcoat. Skipping the primer to save one step means skipping the very layer that creates adhesion to the substrate.
Mix at the correct ratio and apply within the pot life of the mix according to the instructions of the manufacturer of the product in use. The new coating should overlap slightly beyond the cut edge onto the sound old floor, then the edge should be treated to reduce the ridge. The more the patch edge feathers out towards the old floor, the less of a ridge is created when vehicles pass over it, but an edge that is too thin is prone to edge peeling; the patch edge therefore needs to be re-checked after curing, and any ridge that remains must be lightly ground flat.
5. Color, gloss, and joint lines
A newly patched area often differs in color or gloss from the old floor that has been in use for some time, because the old floor has worn and yellowed. This should be explained to the project owner before patching, instead of promising that the patch will be invisible once finished. For areas with high aesthetic requirements, the practical solution is to extend the patch area to a natural dividing line such as an expansion joint, a wall base, or a zone marking line, so that the joint line coincides with an existing line of the floor instead of lying in the middle of an open floor area.
If the floor has line markings or zone divisions, the markings within the patch area must be redrawn after the coating has cured, in the correct color and in the original positions. Omitting zone markings after patching is a common error in areas with forklift traffic.
6. Curing, handover, and re-checking
A patched area should only be put into use after the coating has cured sufficiently according to the instructions of the manufacturer of the product in use; early foot traffic, early pallet placement, or early floor washing can all damage the patch while it is still weak. While waiting, the patch area needs to be barriered off with clear signage, because forklifts can very easily run over a patch area that no one has flagged.
Before handover, re-check the patched area by observation and tap testing, and record it in the maintenance file: location, area, cause, materials, and patch date. This file helps the next repair know exactly which areas have been patched before, instead of having to diagnose from scratch. For an important patch area, or an area that has previously peeled, pull-off adhesion testing on a trial point is a worthwhile quantitative verification.
To choose a coating system for the patch area that is compatible with the existing floor, see the RollCoat system for roller-applied floors and the LevelFlow system for self-leveling floors. For advice on a patching plan for a specific area, Request a consultation.
Illustration photo: Tima Miroshnichenko / Pexels.

Pingback: Spot Repair of Epoxy Floors: Patching and Recoating Process