

 Tiếng Việt
 中文 (中国)
Epoxy floors are usually judged by the floor surface itself: flat, seamless, easy to clean. In everyday operation, however, the first place defects show up is not in the middle of the floor but at its edge: the wall base corner. That is where the floor meets the wall, where wash water runs, dust collects, trolleys scrape, and the coating has to change direction. A good floor with carelessly finished wall base corners will still look untidy, be hard to clean, and be prone to edge peeling over time.
This article focuses only on corner and wall base detailing for epoxy floors: why corners need separate treatment, the common wall base types, the corner process at the level of general principles, common faults, and how to clean corners. The overall installation process, from survey to handover, is covered in Standard Epoxy Flooring Installation Process, from Survey to Handover; this article does not repeat that process, but goes deeper into the part it only mentions in passing: the corners.
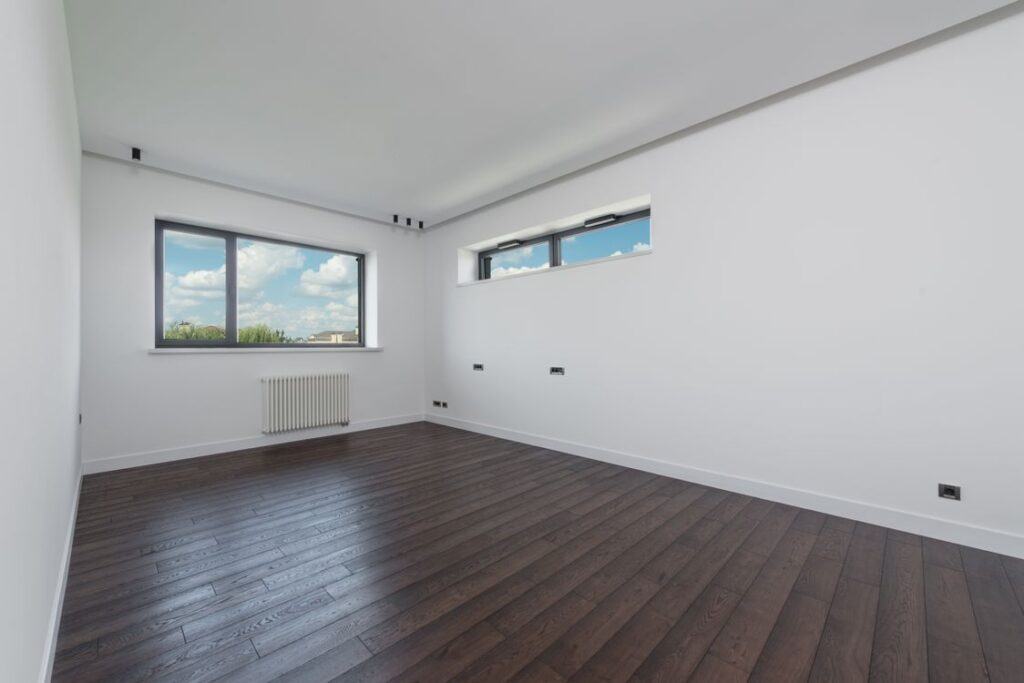
Photo: Max Vakhtbovych / Pexels — illustrative photo of the floor-to-wall junction in an empty room, equivalent to the wall base area that needs treatment when installing an epoxy floor.
Why do wall base corners need separate treatment?
A wall base corner is the junction of two different surfaces: the horizontal floor and the vertical wall. Epoxy applied to the floor by roller or self-levelling flows naturally; when it reaches the wall, the coating has to stop, change direction, and adhere to a vertical surface. Without a dedicated treatment for this junction, the coating very easily thins towards the edge, creating a weak boundary line exactly where it is subjected to the most impact.
There are four reasons this detail deserves separate attention:
- Cleaning: a square corner between floor and wall is a trap for dust, water, and cleaning chemicals. The sharper the corner, the harder it is to get a mop or scrubber right into the edge, and the easier it is to leave a dirty line along the wall base.
- Water and moisture: wash water, condensation, and spills from wet areas all run towards the wall edge. An unsealed coating edge lets moisture get under the coating, causing blistering that spreads gradually from the edge towards the middle of the floor.
- Impact: the wall base is where trolleys, pallets, rack feet, and cleaning equipment collide most often. A thin, weakly bonded edge will peel in small patches and then spread.
- Appearance and handover: the wall base line runs the full length of a facility, so any crooked, smeared, or uneven section is immediately visible. A straight, evenly coloured wall base is the easiest sign of a careful installation team.
In other words, the wall base is not a decorative afterthought. It is a technical detail that protects the edge of the floor, and it needs to be decided before installation begins, not improvised once the coating has already reached the wall.
Common wall base types
In practice, there are three common ways to treat a wall base. Which one to choose depends on the function of the area, the level of hygiene required, and the condition of the existing wall, and it should be agreed before installation so the team prepares the right tools and materials.
1. Seamless curved wall base (coving)
This is a wall base formed as one seamless unit with the floor surface, with the floor-to-wall junction curved rather than left as a sharp square corner. The cove is usually formed from epoxy mortar, shaped into a curve, and then coated with the same epoxy system as the floor.
Its greatest advantage is that there is no square corner left for dust and water to collect in, so cleaning can run seamlessly from the floor up part of the wall. Curved coving is therefore often preferred for areas with high hygiene requirements, such as food factories, pharmaceutical plants, clean rooms, and wet areas. The drawback is that it takes more labour, requires a skilled hand to shape an even cove, and local repair of a damaged section of cove is more complex than for a flat wall base.
2. Straight painted skirting (painted skirting)
In this type, the epoxy coating of the floor is pulled straight up the wall for a stretch, forming a band of wall base in the same colour and the same system as the floor, but keeping the square corner between floor and wall. This is a simple, fast, and common treatment for factories, warehouses, and car parks, where the main requirements are protecting the wall base against impact and making it reasonably easy to clean.
The point to note is that the square corner remains, so cleaning right into the corner is still harder than with coving, and the top edge of the painted band must be marked straight and masked carefully with tape so paint does not smear onto the wall above. The band must also be thick enough and bond well to the wall, because a wall absorbs paint differently from a concrete floor.
3. Wall base in another material, with a sealed joint
Some projects keep an existing wall base, such as tiles, stone, or metal sheeting, and only treat the joint between that wall base and the epoxy floor: sealing the gap and applying a bonding coat across it so water cannot penetrate. This keeps the old wall base and saves time, but the weak point is exactly the joint: if the gap is not cleaned and sealed before coating, water and dust will get through it and damage the coating from below.
Whichever type is chosen, the general principle is unchanged: the wall base must be decided together with the floor, use the same system or compatible materials, and the joint must be sealed. A wall base in one system and a floor in an incompatible system is the source of many later cases of edge peeling.
Corner treatment process at the level of general principles
The steps below describe the principles of corner treatment; they do not replace the overall installation process or the technical instructions for each coating system. The sequence on a specific project is still decided by the installation team according to site conditions and the technical documents of the system in use.
Step 1: Survey and clean the corners first
Wall base corners need a separate survey, not just a general floor survey. It is necessary to check whether the wall is cracked, whether old paint is peeling, whether there is damp, what material the old wall base is, and whether any pipes, sockets, or expansion joints cut through the corner. The corner must then be cleaned thoroughly: cement dust, grease, and peeling old paint all reduce adhesion, and because large grinding tools cannot reach into a corner, cleaning there usually has to be done with small tools, brushes, and careful vacuuming.
Step 2: Repair defects at the corner
Every crack, pit, and peeling patch at the corner must be repaired before coating, because a topcoat does not repair the structure. A crack at the wall base must be opened, cleaned, and filled with a suitable material, then left long enough to dry and stabilise before further coating. Skipping this step and coating directly over a crack is a sure way for the crack to reappear through the new coating after a short period of use.
Step 3: Form the cove or mark the wall base boundary
If a curved cove is chosen, this is the step where mortar is shaped into a curve and left to stabilise before coating. If a straight painted skirting is chosen, this is the step where masking tape is applied, the top boundary line of the painted band is marked, and the wall above is protected against smearing. The more carefully the boundary is prepared, the straighter and cleaner the finished wall base will be.
Step 4: Prime and coat the corner with small tools, before or alongside the floor
Corners and wall bases cannot be coated with a large roller or a self-levelling spreader as the middle of the floor can. Primer and topcoat at the corner are usually applied by brush, small roller, or corner-specific tools, and need to be applied in the same round as the floor coating so the layers bond wet to each other, avoiding a dry joint line between corner and floor. Experienced teams usually treat the corners first and then coat the floor out to the edge, or assign one person specifically to the corners working alongside the person coating the floor.
Step 5: Inspect the corners before handover
Once the coating has dried, the corners need a separate inspection: look along the wall base under raking light to spot brush marks, thin spots, bubbles, and colour smearing; check by hand whether the top edge of the painted band is firmly bonded or peeling; and check column corners, door corners, and places where the corner meets an expansion joint. Faults at corners found at this stage are still relatively easy to fix; once the facility is in use, repairing a corner costs much more because the whole surrounding area has to be protected.
Which coating system for the corner area?
Wall base corners do not use a separate coating system from the floor; the principle is that the corner uses the same system as the floor surface to ensure bonding and colour consistency. However, the characteristics of each system affect how corners are treated:
- RollCoat — 3-coat roller system: applied by roller, so pulling the coating up the wall base and treating corners with a brush or small roller is fairly straightforward, suitable for areas that need a straight painted skirting.
- LevelFlow — Self-levelling: the self-levelling layer gives a flat floor, but at corners manual work with a brush and cove mortar is still needed, because a self-levelling material cannot by itself form a curved cove up the wall.
- StatGuard — Electrostatic dissipative: for areas requiring electrostatic protection, the continuity of the coating at the corner is especially important, because an interrupted or peeling section of corner can break the continuity of the entire floor surface in that area.
- AquaBase — Water-based, low VOC: suitable for indoor areas and for coating corners in enclosed spaces where odour during application needs to be kept low.
Which system is finally chosen still depends on the function of the area, hygiene requirements, and the technical requirements of the project, not on the corner detail alone. The corner is just one of the factors to consider when finalising the coating system.
Common faults at corners and wall bases, and how to prevent them
- Peeling wall base edge: usually because the corner was not cleaned thoroughly, leaving dust or peeling old paint underneath. Prevent it by cleaning the corner with small tools and checking adhesion before coating.
- Cracks reappearing at the corner: usually because a crack was filled carelessly and then coated over. Prevent it by repairing the crack thoroughly and waiting for the filler to stabilise before coating.
- Bubbles and pinholes at the corner: the corner is where air gets trapped when coating by brush, especially when a coat is applied too thickly in one pass. Prevent it by applying thin, even coats and inspecting the corner immediately after coating.
- Brush marks, uneven thickness: caused by hurried, uneven corner work or an unsuitable brush. Prevent it by assigning a dedicated person to the corners, coating in the same round as the floor, and inspecting under raking light.
- Paint smeared onto the wall above: caused by not applying masking tape, or removing the tape only after the paint has fully dried. Prevent it by masking carefully and removing the tape at the right time according to the instructions for the system in use.
- Joint line between corner and floor: caused by treating the corner and coating the floor too far apart in time, so the earlier layer has dried before the later one is applied. Prevent it by coordinating the work rhythm so corner and floor bond in the same coating round.
- Uneven wall base, varying height: caused by not marking the boundary before painting. Prevent it by marking the boundary line and masking before starting to coat the wall base.
What these faults have in common is that they all come from preparation and coordination, not from the epoxy material itself. A corner that is well prepared, coated at the right rhythm, and inspected separately before handover will avoid most of the problems listed above.
Cleaning wall base corners after installation
Once in use, wall base corners need to be cleaned differently from the middle of the floor. A flat mop and a large floor scrubber cannot reach right into the corner, so corners need to be wiped with small tools, a cloth, or a soft brush along the wall base, then wiped again so water is not left standing at the corner. The cleaning chemical used for corners should be the same type already used for the floor surface; do not use a stronger chemical just because the corner is dirtier, because a strong chemical can fade the colour or damage the coating surface at the edge.
In operation, corners should be inspected regularly together with the floor: look along the wall base to detect a peeling edge, a new crack, or staining from standing water early. Early detection at a corner means a repair limited to a short section, instead of having to treat a long stretch of wall base once damage has spread. In wet areas, take care not to leave water standing at the corner for long after each wash; standing water is the fastest agent weakening the coating edge in everyday use.
Notes on specifications
This article deliberately does not state any Kadier-specific wall base height, cove radius, or coating thickness, because Kadier’s own specifications are only meaningful when checked against the official Technical Data Sheet (TDS) of each coating system, and Kadier’s official TDS has not yet been published. Any dimensions or thicknesses mentioned during consultation or installation should be understood only as general industry reference ranges, and must be checked against the specific requirements of each project together with the official TDS once published, before finalising the installation. The suitable wall base height, cove type, and coating thickness have no single answer for all projects; they depend on the function of the area, the level of hygiene required, and the actual condition of the walls and floor.
If your project has special corner areas — column corners, door corners, wet areas, areas requiring electrostatic protection — please point out these locations from the survey stage so the installation team can prepare a suitable corner treatment for each location, instead of applying a single treatment to the entire wall base.
Request a consultation — describe the corner and wall base locations that need treatment, the desired wall base type, and the function of the area, to receive a corner treatment plan suited to your project.
