

 Tiếng Việt
 中文 (中国)
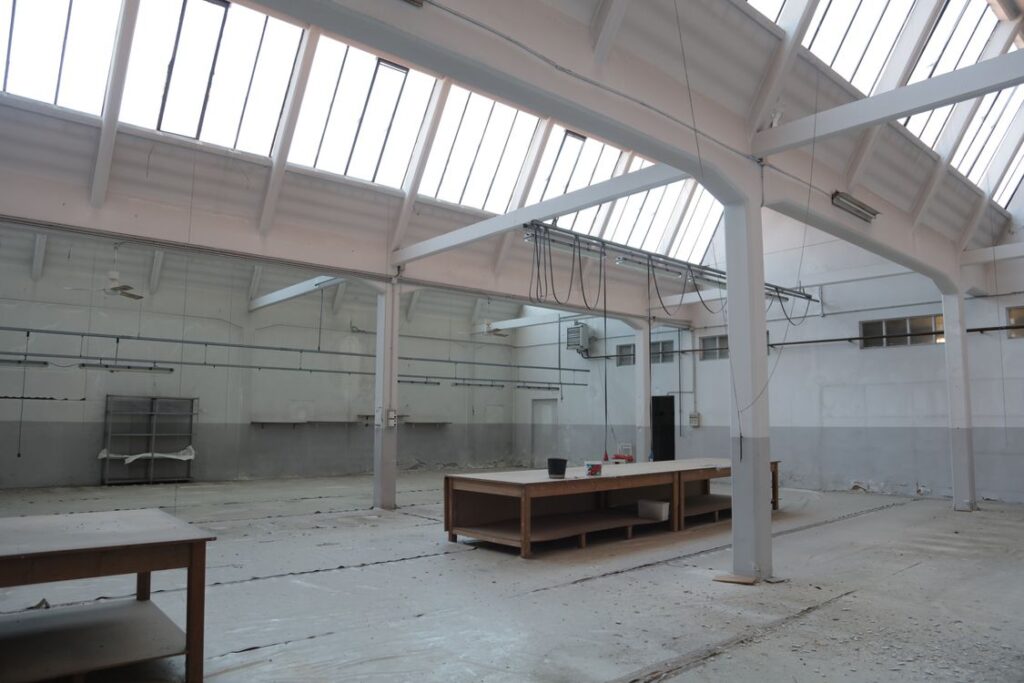
In epoxy flooring installation, concrete floor preparation is the step that decides the adhesion of the whole system. Good coating on a substrate that has not been properly prepared will still peel, while a well-prepared substrate helps even a thin system perform well. This article looks in depth at the three main tasks of substrate preparation: floor grinding, crack repair and floor moisture testing — tasks that the overview process article only names without analysing in detail.
Floor grinding: creating a surface for the coating to bond to
Floor grinding is the use of dedicated grinding machines to clean and roughen the concrete surface. The surface layer of concrete after pouring usually has a weak cement layer, dust, oil and grease, or an old coating — all of which prevent the coating from bonding to the substrate. Grinding removes that weak layer and opens the pores of the concrete, creating a rough surface so that the primer bonds firmly through mechanical adhesion.
The degree of grinding is not always the same: a new, clean substrate may need only light grinding to create roughness, while an old substrate with an old coating, oil stains or a hard, sealed surface needs deeper grinding. After grinding, the substrate must be vacuumed and cleaned before coating, because leftover grinding dust is itself a separating layer between coating and substrate.
Crack repair: fix first, do not rely on the coating to hide defects
Cracks in a concrete substrate have many causes: shrinkage as concrete dries, loads, substrate settlement or movement joints. The first task is to classify the crack: stable cracks (no longer developing) and active cracks (still moving with time, temperature or load). The two types are treated differently, and misclassification can make a crack reappear through the new coating.
- Small, stable cracks: usually cleaned, widened at the edges if needed, then filled with a suitable filler and ground flat after the filler has dried.
- Active cracks or movement joints: should not be filled rigidly and then coated over as if the floor were continuous, because substrate movement will break the coating at exactly that location. These locations need a separate treatment approach according to the design, for example keeping the joint and treating the surface in a way that suits movement.
- Pitted substrate and local delamination: the weak part needs to be removed down to sound concrete, filled and ground flat, rather than merely skimmed over the weak surface.
The general principle is: epoxy coating is not a structural repair material. Every defect in the substrate must be treated until the substrate is sound and stable enough before coating; the coating cannot be expected to hide defects underneath.
Floor moisture testing: why a damp substrate causes blistering
Floor moisture content is the moisture present in concrete that can move up to the surface. When epoxy coating — which is a sealed coating — is applied to a substrate with high moisture, trapped moisture is held under the coating and creates pressure that lifts the coating into blisters and peeling. This can appear some time after installation, even when the surface looked dry at the time of coating.
Measuring floor moisture before coating is therefore a mandatory check, not just a visual observation. There are many measurement methods, from qualitative on-site checks to measurement with dedicated instruments; which method is used and which threshold counts as acceptable must follow the instructions of the manufacturer of the system and the actual conditions of the project. This article deliberately does not state one specific moisture threshold as a general standard, because that threshold depends on each system and each measurement method — taking the specification of one brand as a general standard would be methodologically wrong. The figure that applies to a specific project must come from the TDS of the chosen system.
If the measurement shows that the substrate is still too damp, treatment options include waiting longer for the substrate to dry naturally, improving ventilation and moisture escape, or applying a moisture-barrier solution suited to the system — whichever decision is taken must be based on the measured moisture level and the advice of the manufacturer, and the floor should not be coated in the hope that the coating will trap the moisture underneath.
Substrate preparation sequence, in brief
The logical sequence is: survey and classify defects first, then grind the floor, then repair cracks and treat local defects, then test floor moisture and do a final cleaning before applying the primer. Reversing the order — for example repairing cracks before grinding — can damage the repaired areas by grinding or let grinding dust refill cracks that have not yet been fully treated.
Once the substrate is ready, choosing a system becomes much simpler, because the decision then turns only on the intended use: RollCoat for a roller-applied system, LevelFlow for a self-leveling system, StatGuard for anti-static requirements and AquaBase for a water-based system.
Note: The individual specifications of each Kadier system (thickness, consumption, chemical resistance) will be updated when the official technical data sheet (TDS) becomes available.
Conclusion
Grinding creates adhesion, crack repair addresses each type of defect correctly, and moisture testing prevents blistering — when these three tasks are done well, the system has a real chance of lasting. Conversely, skipping any one of them leaves a weak point right under the finished coating.
If your substrate has cracks, moisture or an old coating and you are not sure how it should be treated, describe the current condition via the contact form, or start from the system selector to narrow the options before a detailed survey.

Pingback: When to Use Low-VOC Water-Based Epoxy? - Kadier — Industrial Epoxy Floor Coating